Pears have a bit of a bad reputation. Whilst almost everyone would welcome the thought of an apple tree or a good old Victoria plum in their garden, mention growing pears to even quite experienced gardeners and you will sense the immediate note of hesitancy. “Tricky to grow”, “take an age to start producing fruit”, “isn’t pollination a nightmare?”, “hard to ripen – they’re either rock hard or turn instantly to mush” – as if they were a petulant and sulky teenager, slightly less than unwelcome at a family gathering. There may be grain of truth in some of this, but nothing that a little knowledge and application can’t remedy, so let’s examine a year of growing pear trees so we can dispel the myths, tackle any issues and rehabilitate this orchard rebel.
Spring.
Pear blossom is magnificent – in April the trees can be absolutely smothered with pure white flowers, the match of any ornamental cherry. Pear trees can take a year or two longer than other orchard fruit to start to produce flowers, but there are a few ways we can speed up the process. The main way is to only feed with a high potash fertiliser from the first year onwards, at regular monthly intervals from March onwards. Avoid any plant feed which has much nitrogen in it, as this encourages growth instead of flower and fruit. Also remember that the more dwarfing the rootstock, the quicker the tree comes into production – trees on a dwarfing stock such as Quince C will fruit several years ahead of a tree on a vigorous stock such as Pyrodwarf or Seedling Pear. Regular summer pruning will also help get your trees into production as quickly as possible (see below).
Pears blossom relatively early in the year, so can be damaged by frosts or cold, windy weather which stops insects from being active. We can’t do much about the weather, but try and situate a pear in a relatively warm and protected site – other fruit trees will cope much better with a more exposed situation than your precious pear.
Pears are not reliably self-fertile – even Conference which claims to be happy on its own will set a much better crop if another pear is nearby. Bees can travel up to a quarter of a mile, so the pollinating pear doesn’t have to be next door, but if you don’t know of another pear in the neighbourhood, best plant two to make sure. The good news is that pears respond extremely well to training, and two cordon trees take up next to no room (and planted against a wall or fence will be slightly better protected from the weather too!).
Summer.
This is the time to be on the lookout for pests and diseases. Pear trees are generally quite robust, but there are a few common issues we need to keep an eye on – blister mite and rust. For a full article on the common pear problems, and how to deal with them, read our guide here.
For any pear tree which is older than say 5 years, summer pruning is probably the most important pruning to carry out. This is because pears are notoriously slow to start producing fruit – ‘pears for your heirs’ is the saying, and it can be several years before newly planted trees begin to crop. Summer pruning encourages the tree to put its energy into producing fruit rather than vegetative growth, so speeds up the process of producing fruiting spurs. All you need to do is prune back any fresh new growth leaving just one new leaf in the middle of August. You’ll not only keep the size of the tree in check, but encourage the heaviest possible crops in the shortest possible timeframe. For more details on summer pruning, click here.
Autumn
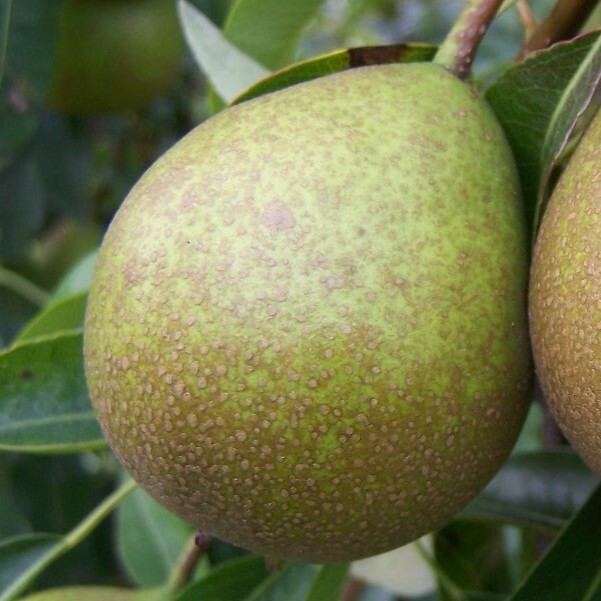
Time to harvest! To test if a pear is ready to pick, cup the fruit in the palm of your hand and lift the fruit up until it is upside down. If it comes away easily with no tugging or wrestling, taking the stalk but no part of the branch (and definitely no leaves!) it’s ripe and ready to pick. If not, leave it on the tree for a few days and try again. Always use the palm of your hand, rather than fingertips, to avoid bruising the fruit.
Pears are notoriously tricky to get right – although some of the early varieties such as Louis Bonne are soft to the touch and ready to eat straight away, many of the mid and late season varieties will still be hard and practically inedible even if ready to come off the tree. Store in the fridge, or in a very cool shed or garage and bring them in to the house a few at a time to ripen in the fruit bowl. Pay attention though, as they can go from underripe to a soft inedible mush in quite a short period.
Winter
Pruning a young pear tree (up to about 5 years old), is generally the same as pruning for apples. The main pruning should be carried out in December or January, and you first need to carry out the 3 essential steps:
1 Prune out dead, diseased or damaged wood.
2 Remove any branches which are crossing and rubbing.
3 Remove any branches growing into the centre of the tree.
Once that has been done, the main task is to try and form a nice balanced open shape. Young pear trees tend to grow in quite a narrow, upright form, so it’s good to prune back the branches by about 25% of the previous seasons growth and always prune to a bud on the outside of the branch. This should get some outward growth to form. Some buds may break and grow back into the centre – persist and prune them out again the following winter.
Once a pear tree is older than 5 years old and the basic framework has been formed, you will generally be putting more emphasis on summer pruning – removing most of that year’s new growth, to keep the tree under control and encourage the production of fruit buds. For further winter pruning advice click here.
For further advice on some our favourite varieties, click here.

