This summer has been a scorcher. Every day seems to be picture postcard weather, sun streaming down from endless blue skies. Fantastic news if you own a deckchair franchise at Bridlington, perhaps, but not good news for many gardeners and fruit growers. The sun and heat are ideal for ripening fruit, and the sugar levels will generally be very high. However, the lack of any significant rainfall for several months is causing many problems – yields are lower, fruit size is generally on the small side, and some plants just aren’t making the amount of growth that would normally be expected. Time to look at the watering and water conservation of fruit trees, so we may all continue to enjoy bumper crops even if this is a weather pattern we will see more frequently in years to come.
First, we need to have a little science lesson to see exactly why plants need water, and how they use it. Let’s start with an apple tree. An apple is about 85% water - so a mature tree in October may have a 100kg crop, which will be about 85 litres of water. The trunk, branches stems and leaves would contain more water – but probably only another 100 litres or so. But a fully grown fruit tree can need up to 12000 litres of water over the course of a growing season. So what happens to the other 98% of that water - where does it go?
A tree will produce the energy it needs for growth and fruit by a process known as photosynthesis. Carbon dioxide is combined with a small amount of water within the leaf, and together with the green chlorophyll and sunlight, sugars are formed. Carbon dioxide is absorbed through tiny pores in the underside of each leaf called stomata. At the same time, a small amount of water vapour is released. Put a plastic bag over the leaves of a plant and you’ll soon notice condensation forming on the inside. It’s like us breathing on a mirror - and for plants it’s called transpiration. The pores each have two guard cells, which can quickly close the pores and stop this transfer of gas and air. They will naturally close the stomata every evening- it allows the plant to build up its water reserves overnight. The guard cells will also act if the soil is very dry and there is insufficient moisture to stop the leaves from drying out. It’s a self-defence mechanism, and a very good one too. However, it does mean that the stomata are kept closed if there is a dry period, so no uptake of carbon dioxide and no sugars are formed.
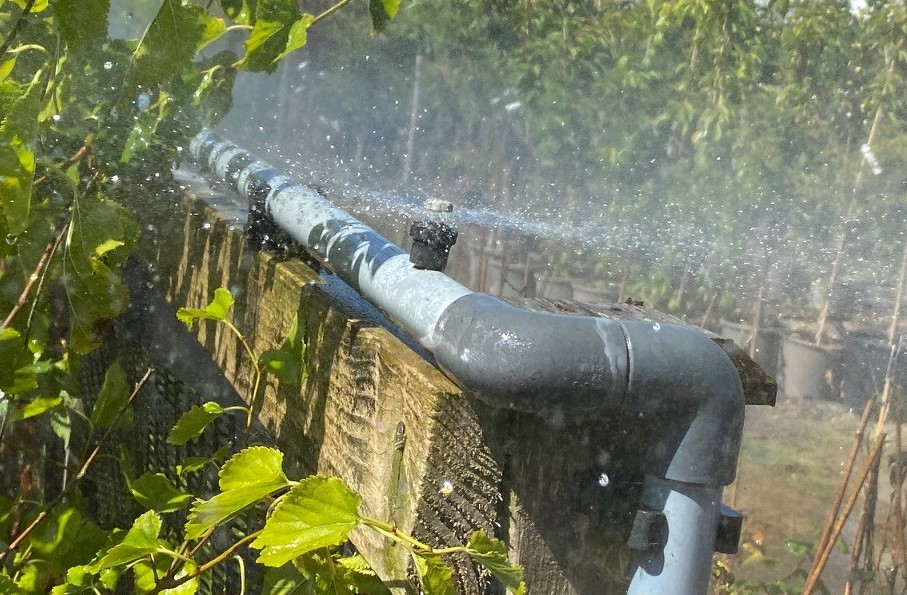
The second way water is lost is through evaporation. Sun and wind will cause moisture in the soil to evaporate. Think how quickly a path dries out on a hot summer’s day, or in a strong wind. That process is continually happening in the garden, stealing moisture from the plants that need it.
For most gardeners, reducing loss of moisture due to transpiration is the more difficult of the two to achieve. Windbreaks are a great help – even the effect of a neighbouring shrub can significantly reduce the drying effect of wind. Providing some shade for plants can be an option, which is why shading greenhouses in summer by either using opaque paint or netting works well. It reduces the amount of sunlight getting through, lowers the temperature and so helps limit the amount of moisture lost (and which therefore needs replacing by watering). Top fruit trees such as apples and pears are almost impossible to shade, but you can buy tunnels or cloches with netting on (aimed primarily at stopping insects such as carrot fly) which are excellent for use over low growing crops such as strawberries.
Reducing moisture loss from evaporation is much easier to achieve, and the main method is mulching. In its simplest form, it just means applying an additional which insulates the soil underneath from the drying effects of sun and wind. Think of it almost like a thermos flask for your soil, in that applying a mulch will help preserve the condition of the soil at the time you apply the mulch. This gives us one of the golden rules of mulching – apply when the soil is damp, and starting to warm up. If you apply a mulch when the soil is dry or cold, you will ‘lock in’ these conditions and it will take a lot longer for your soil to warm up or for rainfall to penetrate. This year we had an exceptionally dry March and April, so in my own garden I had to wait until mid-May to mulch, once we had had some significant rainfall.
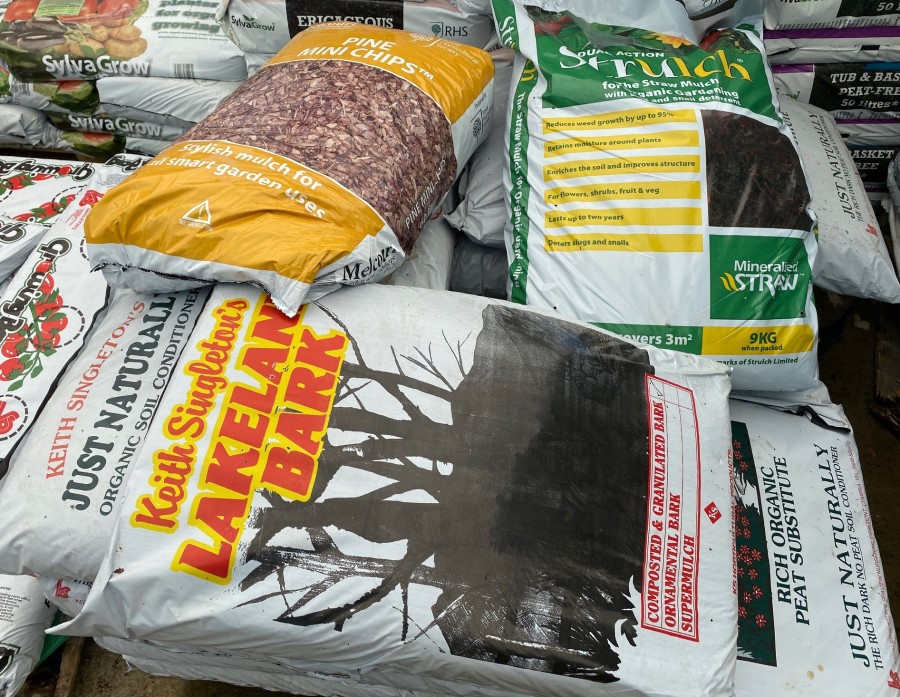
Mulch materials. There are quite a range of options available when it comes to what to mulch with. Each has its own advantages and disadvantages, so your choice will normally be based on cost, availability and appearance.
Pine chips. The longest lasting of the ‘natural ‘ mulches, and one of the more decorative. Can have a low ph, so excellent around blueberries but be careful around more lime-loving plants. As it breaks down it can use nitrogen up in the soil, so your plants may need an extra feed.
Composted bark. My favourite- easy to handle, natural in appearance and none of the acidity problems of pine chips. Because it has already started to decompose, it doesn’t take nitrogen out of the soil.
Rotted manure. Another good choice for more, especially for the allotment where appearances may have a lower priority. Extremely beneficial for the soil, rich in nutrients- but can be full of weed seeds.
Homemade compost. A great choice - mainly because it is free! Most home gardeners will have difficulty in producing enough to mulch large areas, so best to save it for planting.
Strulch. An excellent new product - wheat straw is partly composted and then iron added. Does a good job of keeping in moisture, and works as a slug deterrent too. Also very light to handle, so a good choice if you struggle with heavy bags of compost. Birds do love rooting through it for food though, so it can end up everywhere!
Gravel/ pebbles. Very long lasting and decorative, but doesn’t add any organic matter back into the soil.
Woven plastic sheeting. Excellent for large areas, it lets rain through but stops weeds and conserves moisture. Not very attractive though, unless you like the garden centre look!
Cardboard/newspapers. Cheap and easy, and makes a good barrier if used with one of the other mulches to stop it blowing away.
Old carpet. Another cheap and cheerful option, works well but probably best saved for the allotment rather than the Instagram worthy potager.
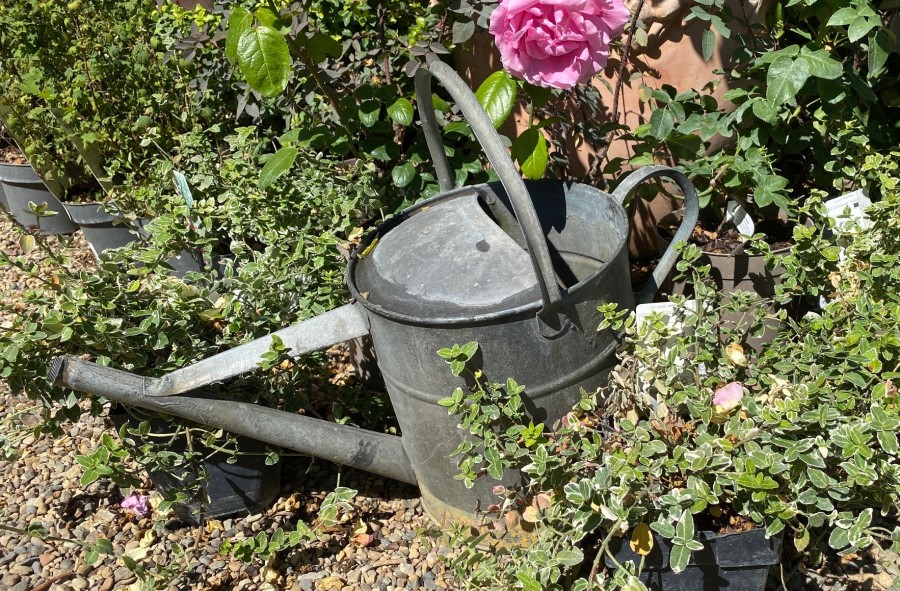
Sometimes, even after trying to conserve moisture, watering becomes essential. Here’s a quick list to make sure you do it right.
DO prioritise newly planted trees and bushes. In the first year, until a good root system is established, regular watering is essential.
DO water gently - if the water is applied to quickly, it just runs off and doesn’t go down to the roots. Mound up a pile of soil around the plant, to create a natural well.
DO incorporate lots of organic matter when planting. This helps improve soil structure and moisture retention during the critical first few months,
DO prioritise plants in the month before the fruit will ripen. This is normally the critical time for fruit to swell. After the fruit has been picked, put the plant to the bottom of the list - it will need a lot less water once it has been harvested.
DONT water little and often. This just dampens the top surface and encourages shallow roots to form. Better to give a thorough soaking (at least a couple gallons) every 10 days.
DONT forget that ‘grey’ water - recycled washing up water (or even bath water) - can be a great option. The soap will also help to get rid of any lurking aphids! Don’t use any water that has had strong cleaning detergents or bleach in.